
Step 1 – Navigate to Client Notes
- From the left-hand menu, click Clients, then select Client Notes.
Step 2 – Add a New Client Note
- Click the Add a Client Note button on the right-hand side of the page.
- Complete the Client Note Details
- Fill in all relevant fields, including:
- Title
- Client Name
- Appointment Length
- Reason for Service
- Date
- Notes
- Observations
- Fill in all relevant fields, including:
Note: All clients should already exist in the system. When selecting a client, a dropdown menu will appear—begin typing their name and select the appropriate match.
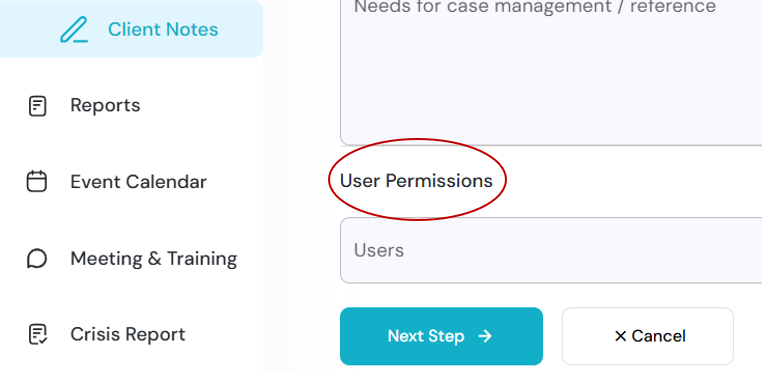
Step 3 – Set User Permissions
- Before clicking Next Step, open the User Permissions section at the bottom of the page.
- By default, client notes are visible only to the creator. Select anyone else who should have access (e.g., your manager or relevant team members). In some clinical circumstances, visibility may remain restricted to yourself.
Step 4 – Upload Documents and Budget
- Click Next Step to move to the document upload page. Upload any relevant files.
- Click Next Step and add a budget if necessary.
Step 5 – Sign or Skip Signature
- Click Next Step again to access the signature page. If a client signature is not required, you may skip this step.
Step 6 – Review and Complete
- A summary page will appear showing all the information entered.
- Your client note is now complete.