
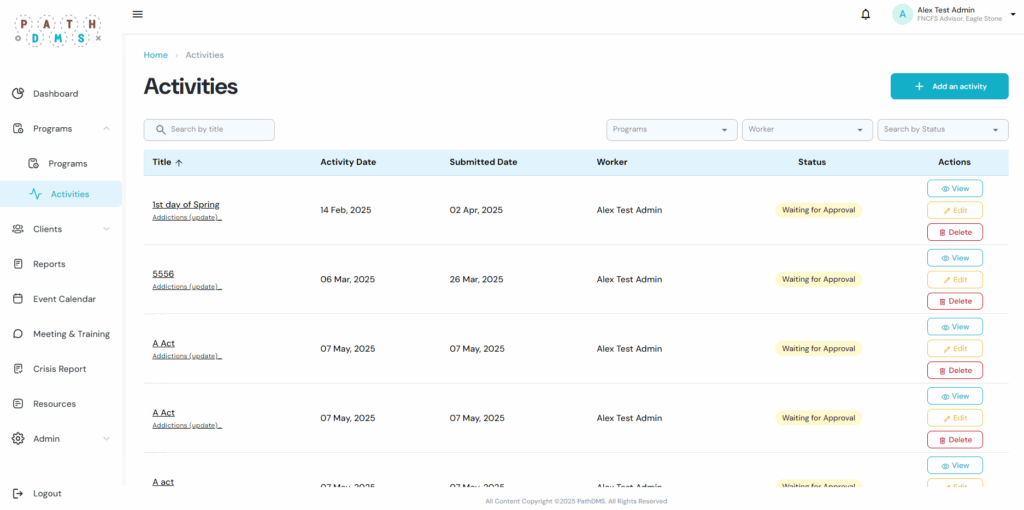
Step 1 – Access the Activities Page
- From the left sidebar, click on Activities.
- You will see a list of existing activities with details such as title, activity date, submitted date, worker, and status.
- To create a new one, click on the + Add an activity button.
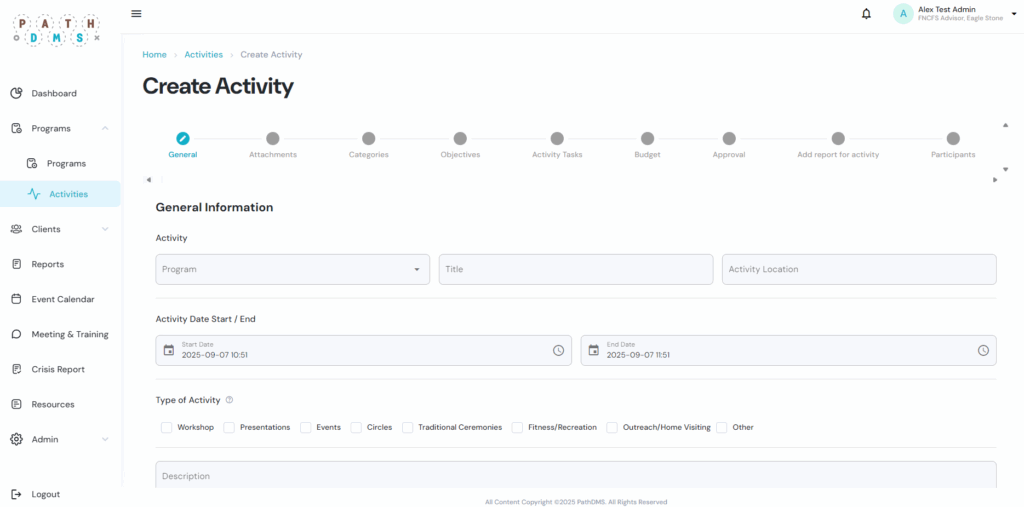
Step 2 – General Information
- Select the Program related to the activity.
- Enter the Title and Activity Location.
- Choose the Start Date and End Date of the activity.
- Select the Type of Activity (e.g., Workshop, Presentations, Events, Traditional Ceremonies, Outreach/Home Visiting, etc.).
- Add a brief Description of the activity.
- Click Next Step to continue.
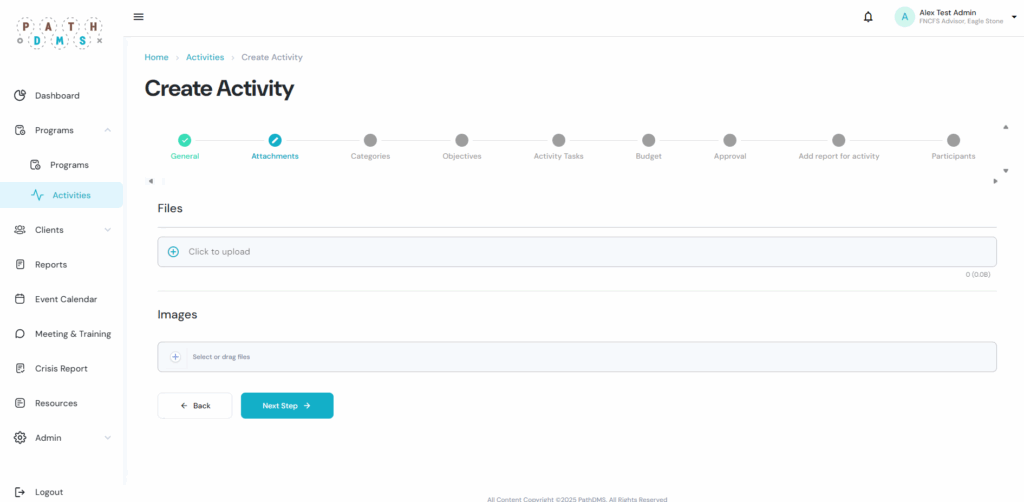
Step 3 – Attachments
- Upload any Files related to the activity by clicking on the upload box.
- You can also add Images by selecting or dragging them into the upload area.
- Once complete, click Next Step.
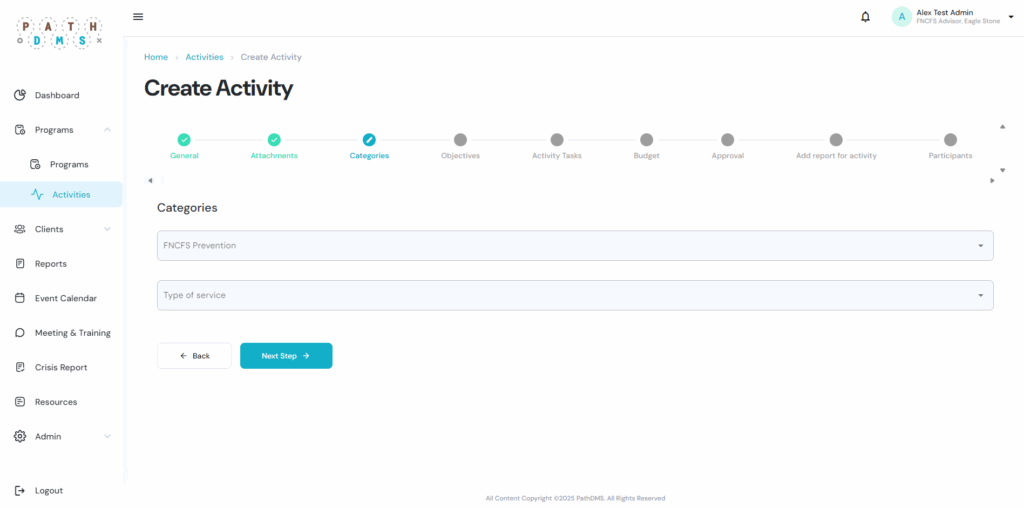
Step 4 – Categories
- Select the Category (for example, FNCFS Prevention).
- Choose the Type of Service associated with the activity.
- Click Next Step.
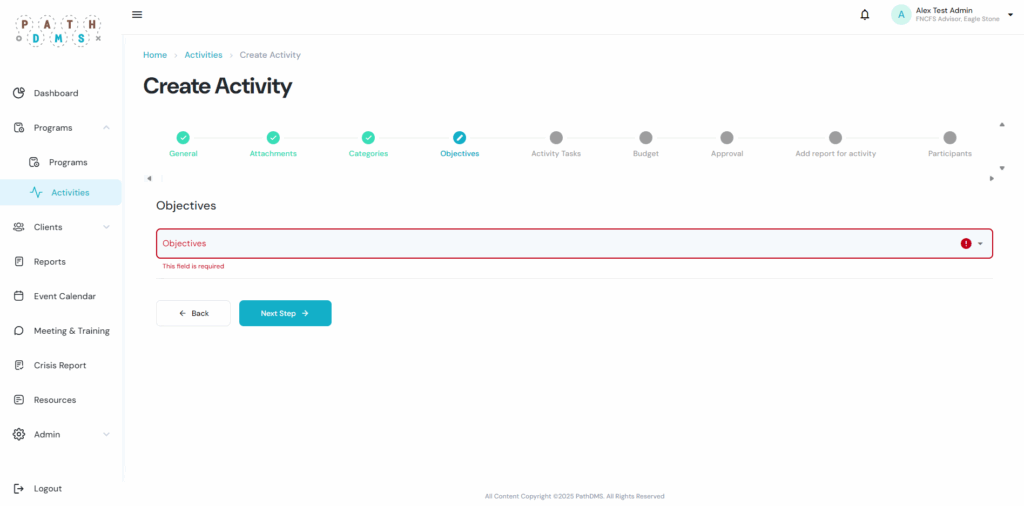
Step 5 – Objectives
- Enter the Objectives of the activity in the provided text box. ⚠️ This field is required, so you must complete it before continuing.
- Click Next Step.
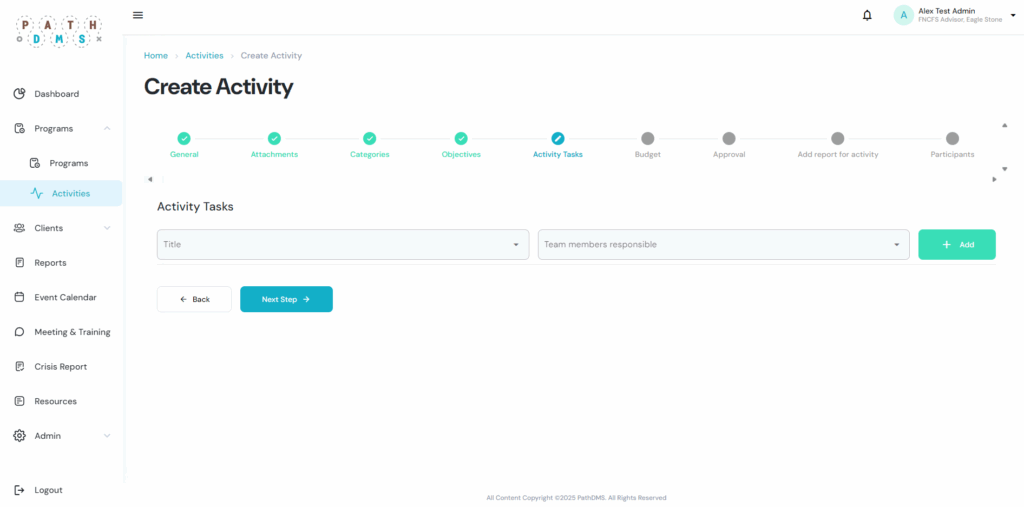
Step 6 – Activity Tasks
- Add specific Tasks related to the activity.
- Assign Team Members Responsible for each task.
- You can add multiple tasks by clicking the + Add button.
- Once done, click Next Step.
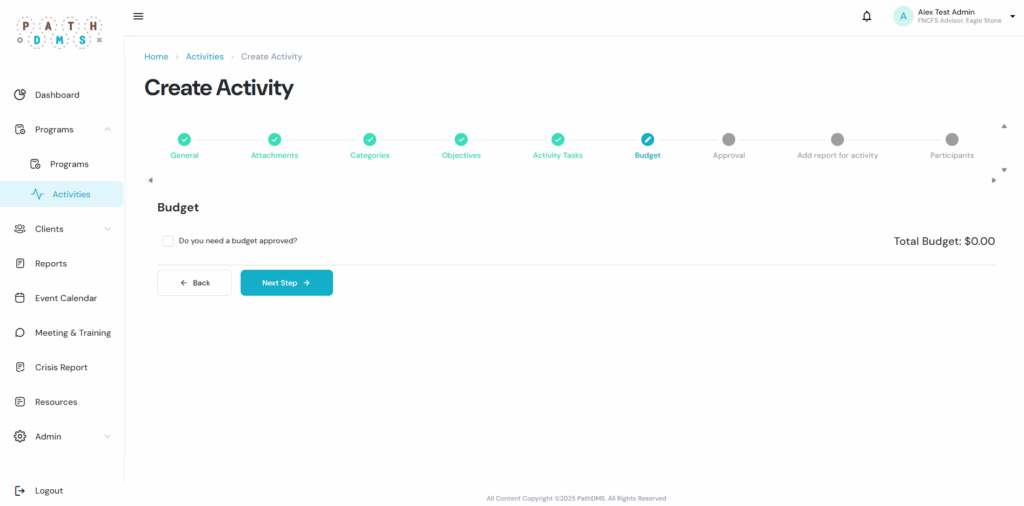
Step 7 – Budget
- If the activity requires a budget, check the option Do you need a budget approved?
- Enter the required amount and details.
- If no budget is needed, leave it unchecked.
- Click Next Step.
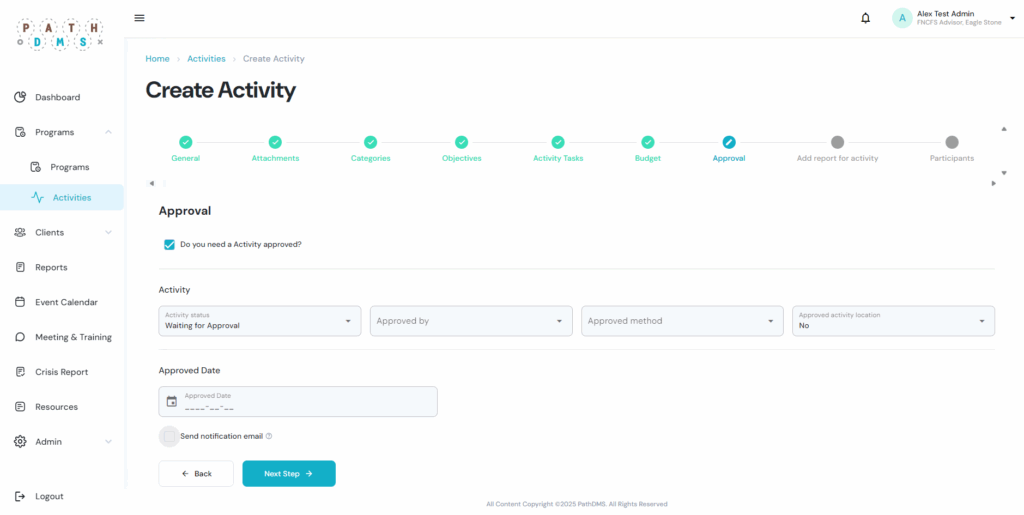
Step 8 – Approval
- Select whether the activity requires approval.
- If yes, choose the Approver, Approval Method, and indicate if the Activity Location is approved.
- Optionally, set an Approval Date and enable Notification Email to inform the approver.
- Click Next Step.
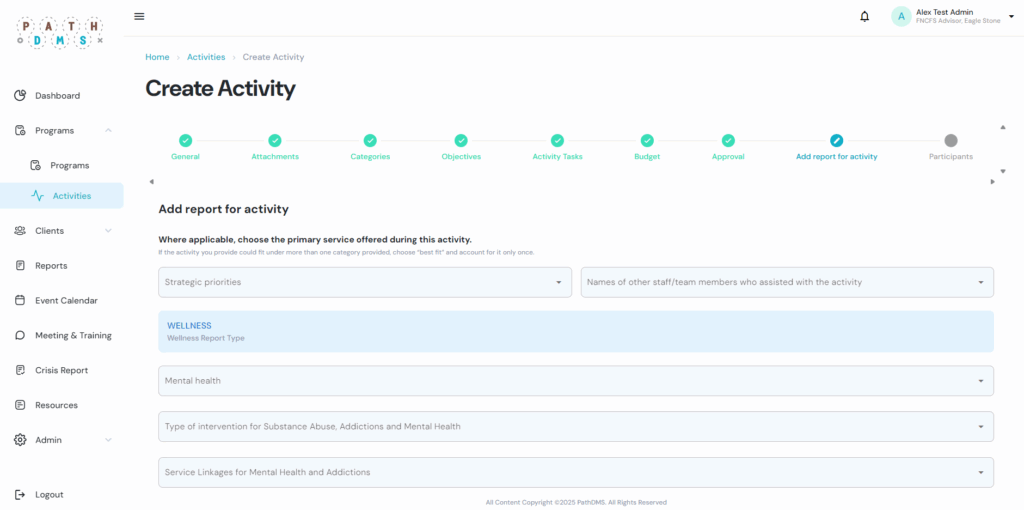
Step 9 – Add Report for Activity
- Choose the Strategic Priorities related to the activity.
- Select the appropriate Wellness Report Type (e.g., Mental Health, Substance Abuse Interventions, Service Linkages).
- If applicable, add the names of other staff or team members who assisted with the activity.
- Click Next Step.
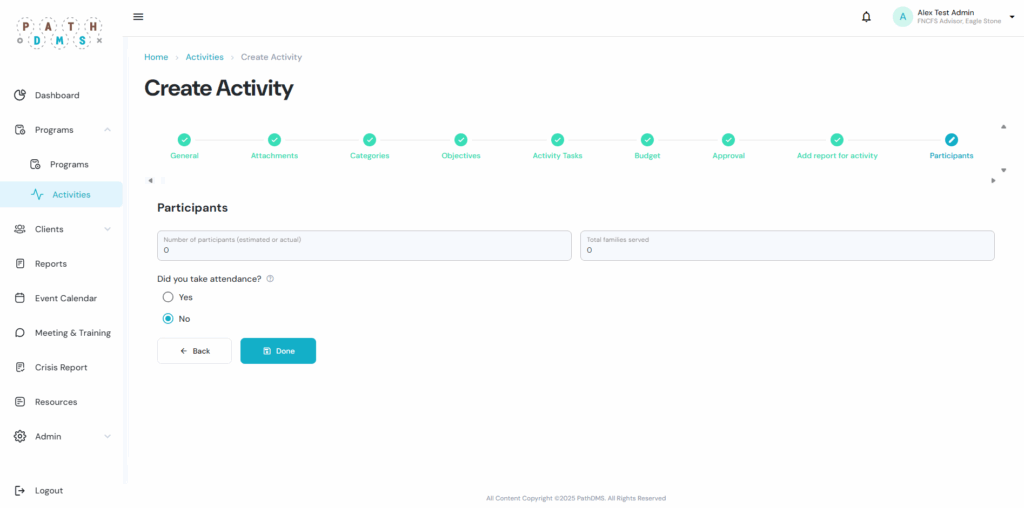
Step 10 – Participants
- Enter the Number of Participants (estimated or actual).
- Enter the Total Families Served.
- Indicate whether Attendance was taken by selecting Yes or No.
- Finally, click Done to complete the activity creation process.
Your activity will now appear in the Activities List with a status such as Waiting for Approval. From here, you can View, Edit, or Delete the activity at any time.agnam aliquam quaerat voluptatem. Ut enim ad minima veniam, quis nostrum exercitationem ullam corporis suscipit laboriosam, nisi ut aliquid ex ea commodi consequatur? Quis autem vel eum iure reprehenderit qui in ea voluptate velit esse quam nihil molestiae consequatur, vel illum qui dolorem eum fugiat quo voluptas nulla pariatur