
Not all users have permission to create a new client. If you need to add someone who is not yet in the system but are unable to do so, please contact your supervisor.
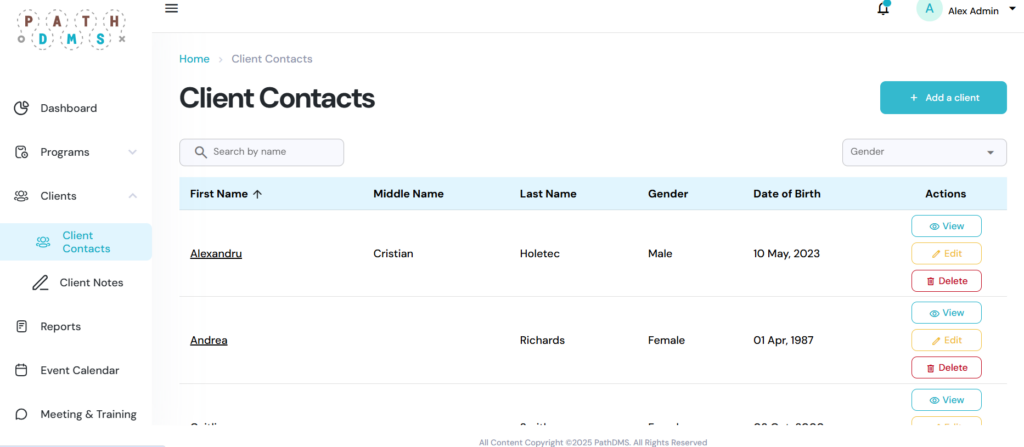
Step 1 – Access the Client Contacts Page
- From the left-hand navigation menu, click on Clients, then select Client Contacts from the dropdown menu.
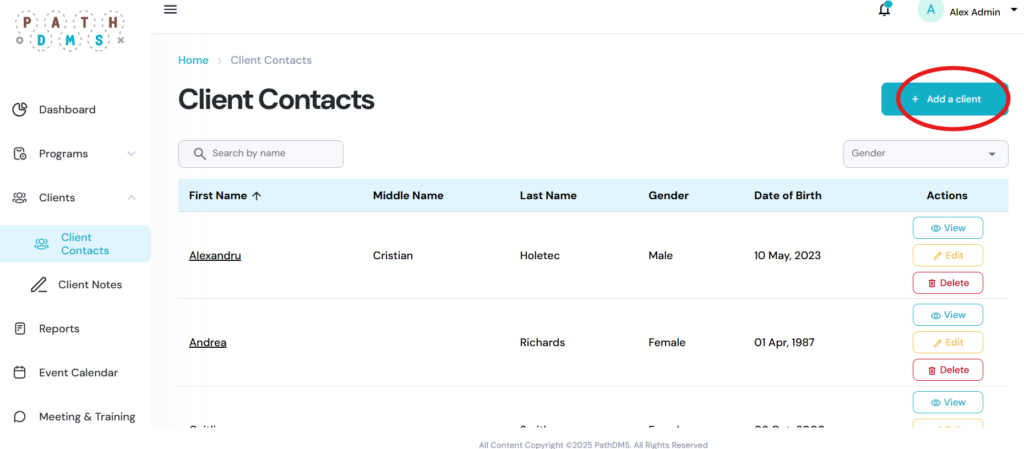
Step 2 – Create a New Client
- In the top right corner, click Add a Client.
- Once the form opens, enter all available client information, including:
- Name
- Birth date
- Address
- Gender
- Identity
- Status number
- Any other relevant details
Step 3 – Save the Client
Click Save to add the new client to the system.